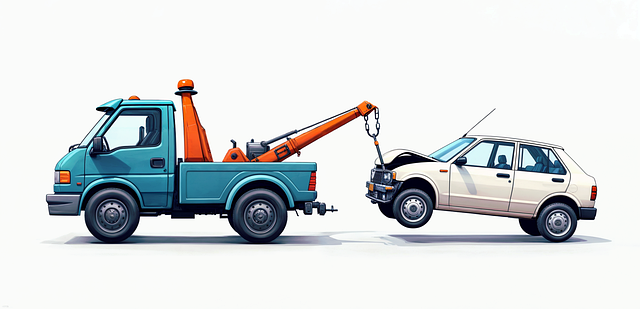


Prepare auto glass repair area by washing, drying, sanding, and clearing dust. Use compatible clear coat per manufacturer guidelines for optimal results. Employ correct technique and spacing during application to avoid unevenness, bubbles, and ripples.
Avoid common pitfalls in clear coat application and achieve a flawless finish with these essential tips. A clear coat is a game-changer for protecting and enhancing your vehicle’s paint job, but mistakes during application can lead to blemishes and an uneven surface. Learn how to prepare your surface properly, choose the right clear coat for your needs, and master the art of application technique to avoid common errors.
- Prepare Surface Properly to Avoid Blemishes
- Use Inadequate or Incorrect Type of Clear Coat
- Neglect Proper Application Technique and Spacing
Prepare Surface Properly to Avoid Blemishes
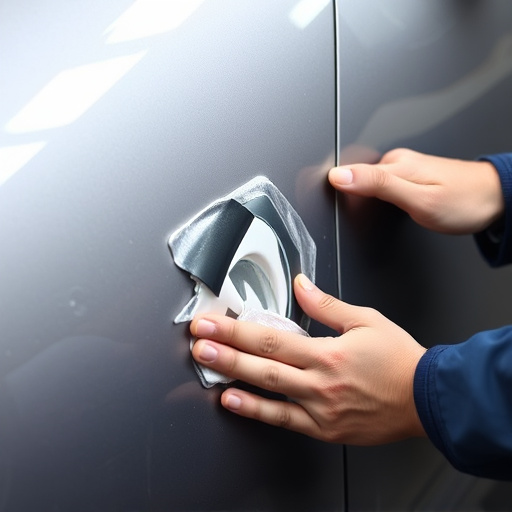
Before applying a clear coat, it’s crucial to prepare the surface properly to avoid blemishes and ensure a smooth finish. This step is often overlooked but can make or break the final result. Start by thoroughly cleaning the vehicle body repair area using mild soap and water to remove any dirt, grease, or debris. Dry the surface completely to prevent water spots from affecting adhesion.
Next, inspect the car body restoration area for any imperfections, such as scratches or swirls. Lightly sand these areas with a fine-grit sandpaper to create a smooth base. Remove all dust and residue after sanding using a clean cloth. A well-prepared surface will allow the clear coat to bond evenly, resulting in a durable and aesthetically pleasing finish, enhancing your auto glass replacement efforts.
Use Inadequate or Incorrect Type of Clear Coat
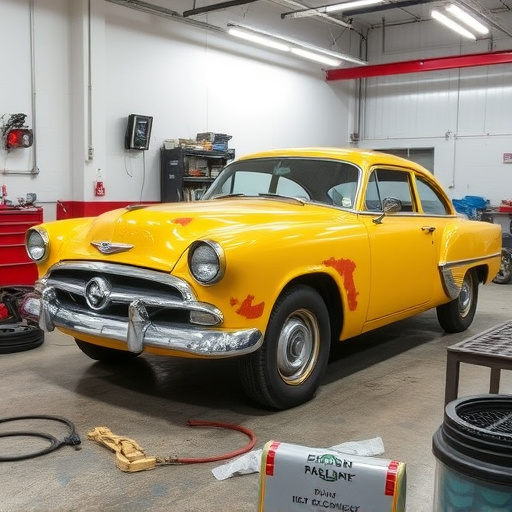
Using the wrong clear coat for your car’s finish can lead to poor results and an uneven surface. Different types of clear coats are designed for specific applications and vehicle makes, so it’s crucial to choose one that matches your paint system perfectly. For instance, a clear coat formulated for paintless dent repair on a Mercedes-Benz may not be suitable for general car paint services or other vehicle brands.
Selecting the correct clear coat ensures optimal bonding and protection. Using an incompatible clear coat can result in chipping, bubbling, or a yellowed appearance over time. Always refer to your vehicle’s manufacturer guidelines and consult with professionals experienced in clear coat application for the best recommendations, ensuring long-lasting and high-quality results for your car’s finish.
Neglect Proper Application Technique and Spacing
One of the most common mistakes people make when it comes to clear coat application is neglecting proper technique and spacing. Clear coat is a crucial step in vehicle body repair, especially after dent repair at an auto collision center. It’s not just about spreading the coat evenly; the technique matters greatly. Applying too much pressure can lead to uneven distribution, causing some areas to have thick layers while others remain thin. This results in an unappealing finish that doesn’t protect the underlying paintwork effectively.
Moreover, inadequate spacing between coats can cause bubbles and ripples to form. Each clear coat layer needs time to dry slightly, providing a smooth surface for the next application. Skipping this crucial step or using subpar drying times can lead to imperfections that are visible once the final coat is applied. Proper technique ensures that each coat builds upon the previous one, creating a seamless, protective barrier on the vehicle’s body, enhancing its overall aesthetics and longevity after dent repair.
When it comes to clear coat application, avoiding these common mistakes is key to achieving a smooth, professional finish. By properly preparing your surface, selecting the correct type of clear coat, and mastering the application technique, you can ensure optimal results. Remember, paying attention to detail during the process will save you time and money in the long run, enhancing the overall aesthetics of any project.