
Proper surface preparation is crucial before clear coat application. This includes thorough cleaning and meticulous inspection for base paint imperfections. Choosing the right clear coat type based on weather and desired finish ensures protection without yellowing. Ensuring compatibility with base coat guarantees a seamless bond, protecting the vehicle's bodywork from future damage. Even application and curing under optimal conditions enhance repair quality.
Looking to give your projects a glossy, protective finish? This step-by-step guide walks you through the art of clear coat application. From preparing your surface for optimal adhesion to evenly spreading and curing the perfect layer, master the technique with ease. Discover expert tips on choosing the right clear coat and achieving a professional-looking, durable finish that will enhance any DIY endeavor.
- Prepare Surface and Choose Clear Coat
- Apply Base Coating for Optimal Adhesion
- Evenly Spread and Cure the Clear Coat
Prepare Surface and Choose Clear Coat
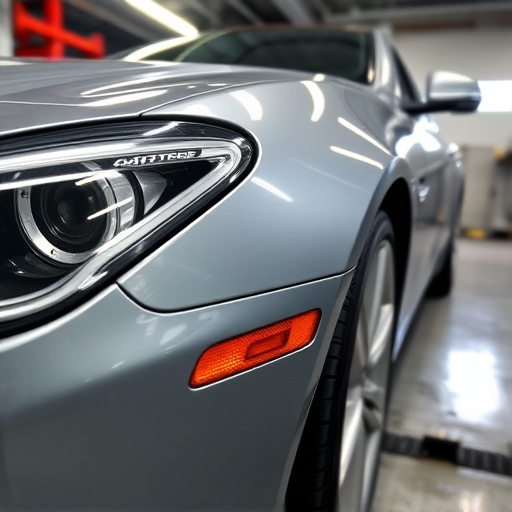
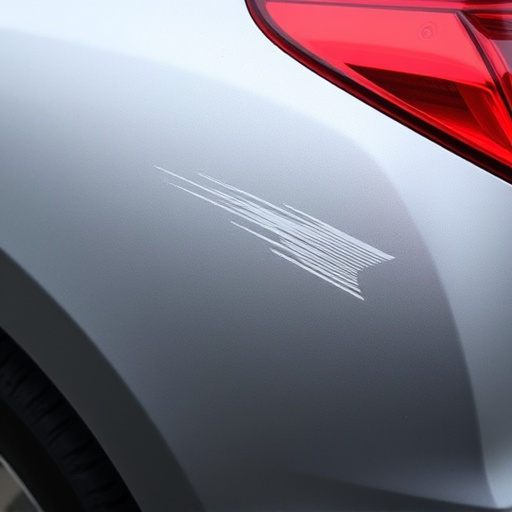
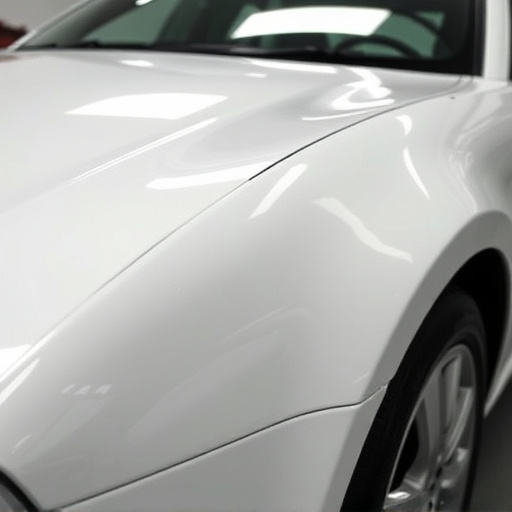
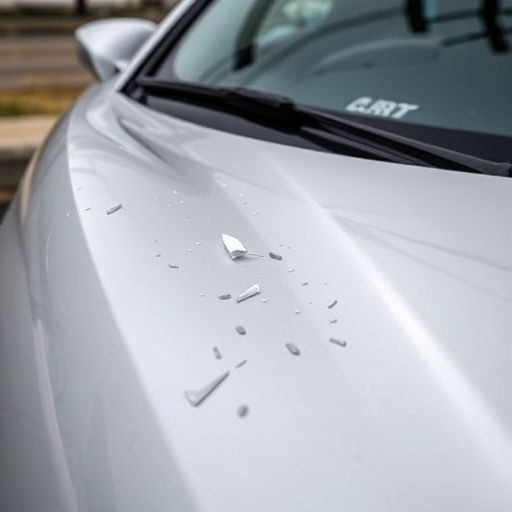
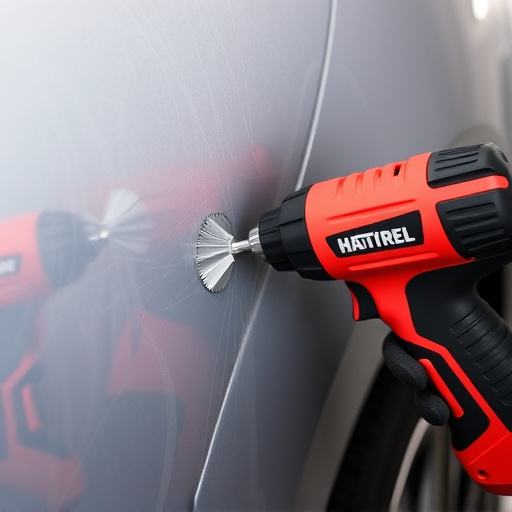
Before beginning the clear coat application process, preparing your surface is paramount to achieving a flawless finish. Start by thoroughly cleaning the vehicle’s bodywork, removing any dirt, grease, or grime that could impede the bond between the clear coat and the base paint. Use dedicated automotive cleaning solutions and microfiber cloths for this step to ensure no residue is left behind. Once the vehicle bodywork is spotless, inspect it carefully for any imperfections, such as scratches or bumps, in the underlying paint. Minor repairs, if necessary, using appropriate body repair techniques and putty, will create a smooth base for your clear coat application.
Selecting the right clear coat is just as important as proper preparation. Clear coats come in various types, each designed for specific purposes and vehicle applications. Consider factors like weather conditions where you’ll be using the vehicle, desired shine level, and the type of finish (matte, semi-gloss, or gloss). For vehicle repair and bodywork projects, choose a clear coat formulated to protect the base paint and enhance its appearance without yellowing over time. Ensure compatibility with your base coat to guarantee a seamless fusion, creating a protective barrier that not only enhances aesthetics but also guards against future damage to the vehicle’s bodywork.
Apply Base Coating for Optimal Adhesion
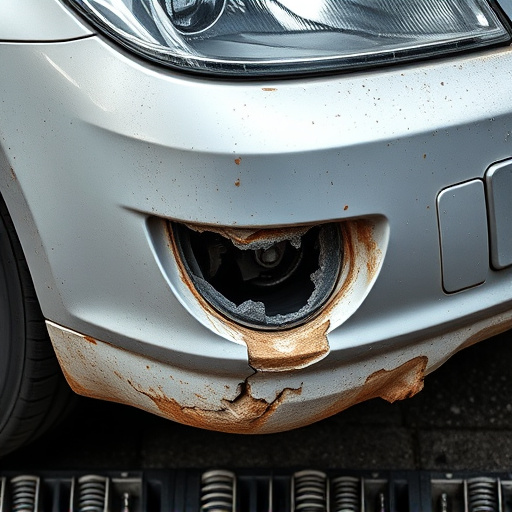
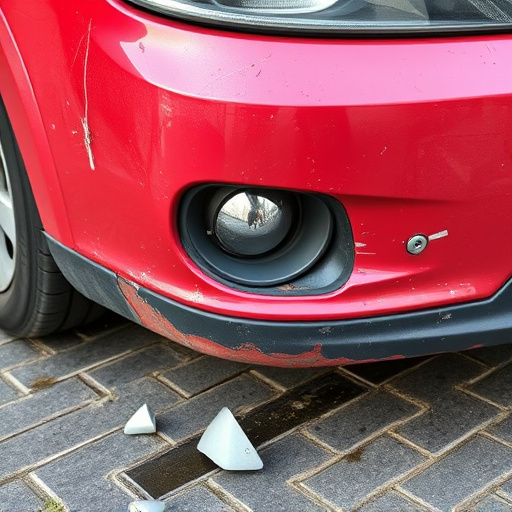
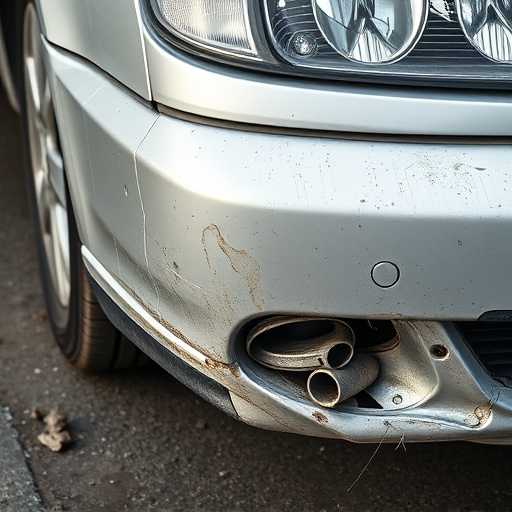
Before applying a clear coat, preparing your surface is paramount for achieving a professional finish. One crucial step in this process is the application of a base coating. This layer serves as a bond between the clear coat and the car’s body, ensuring optimal adhesion. Base coatings are designed to fill minor imperfections, create an even surface, and provide a protective barrier against contaminants like dirt and dust.
Choosing the right base for your collision damage repair or dent repair process is essential. Car body shops often opt for high-quality base coatings that offer excellent coverage and durability. By allowing the base coat to cure fully, you establish a solid foundation for the subsequent clear coat application, guaranteeing a sleek, long-lasting finish that protects your vehicle from future dents and scratches.
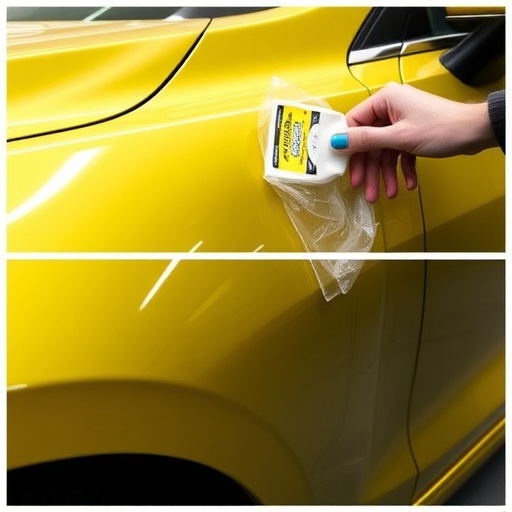
Evenly Spread and Cure the Clear Coat
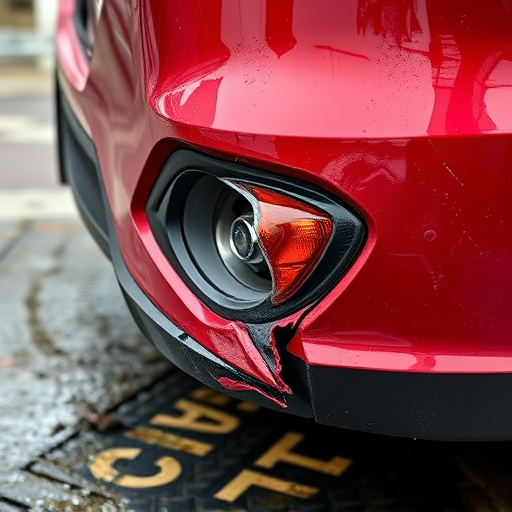
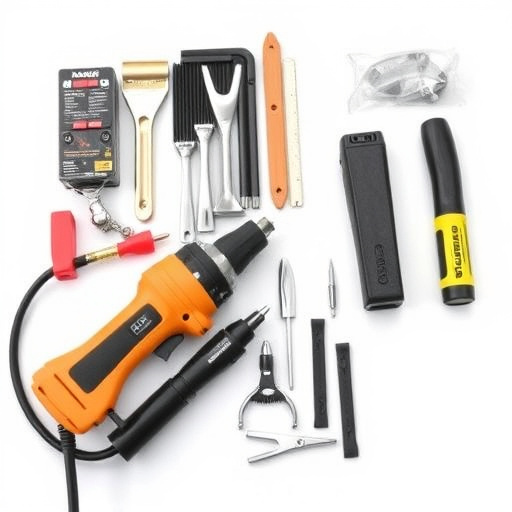
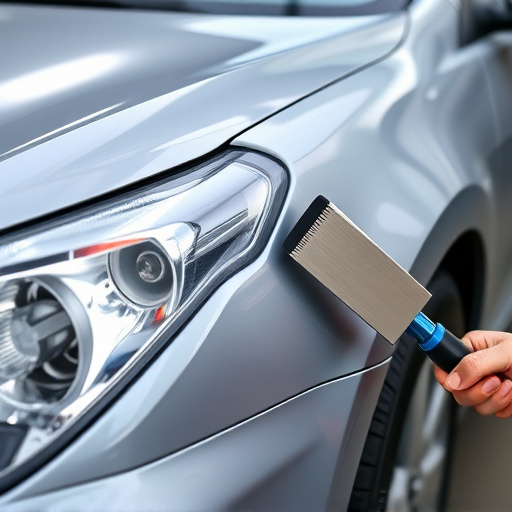
After carefully applying the clear coat, it’s crucial to ensure even distribution for optimal results in automotive body work or collision damage repair. Use a flat or low-pile roller to spread the coat smoothly and evenly across the entire surface. This step is essential as any uneven application can lead to visible streaks or patches when the clear coat dries. Keep moving in straight lines, overlapping each pass slightly to avoid missed spots.
Once the clear coat is applied, allow it to cure according to the manufacturer’s instructions. Most clear coats will require a specific drying time, often between 20-30 minutes, before further handling or painting can occur. During this cure period, maintain a consistent temperature and humidity level to ensure even drying. Proper curing ensures the clear coat forms a strong, durable bond with the vehicle’s surface, enhancing the overall quality of the repair in vehicle repair processes.
Following these meticulous steps, from preparing your surface to curing the clear coat, you’ll achieve a professional-looking finish that protects and enhances your project. The key lies in attention to detail, ensuring each layer is applied evenly and allowed to cure properly. With the right products and techniques, clear coat application becomes an accessible skill, enabling you to transform surfaces and create lasting, stunning effects.