To achieve an impeccable clear coat finish, prepare by gathering specific tools and materials, ensuring proper ventilation, and inspecting the surface for imperfections. This includes using fine-grit sandpaper and applicator pads, addressing major scratches first and moving to finer grits for smoothness. After drying, polish with a microfiber cloth and dedicated polisher following manufacturer instructions under good lighting to ensure a defect-free finish that protects the underlying paint job.
After applying a clear coat, the process of sanding and polishing is crucial for achieving a smooth, professional finish. This step-by-step guide will walk you through preparing your workspace, understanding the sanding process, and mastering final polishing techniques. From choosing the right tools to achieving a flawless surface, learn how to transform your project after clear coat application. Discover expert tips to ensure a high-quality, glossy outcome that showcases your craftsmanship.
- Preparation for Sanding and Polishing
- The Sanding Process: Techniques and Tools
- Final Polishing Steps for a Smooth Finish
Preparation for Sanding and Polishing
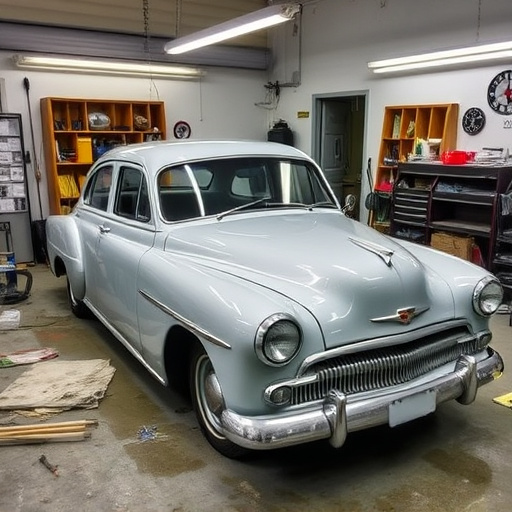
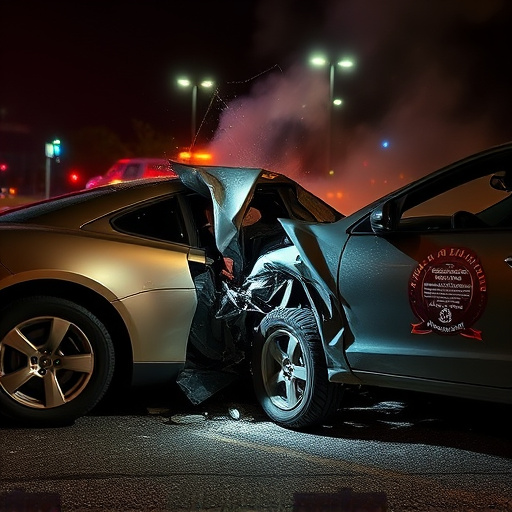
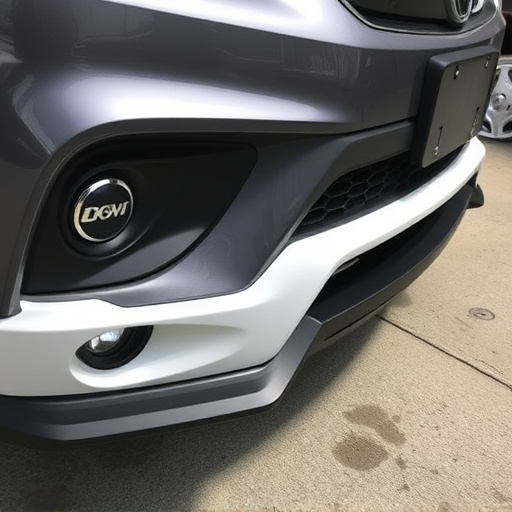
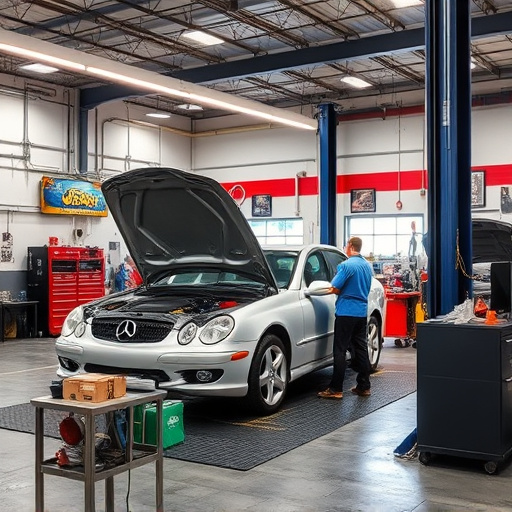
Before beginning the sanding and polishing process, a thorough preparation is essential for achieving a flawless finish after clear coat application. This involves gathering all necessary tools and materials, including fine-grit sandpaper, automotive polish, and applicator pads designed specifically for clear coat work. Ensure your workspace is well-ventilated to prevent inhalation of any harmful fumes. In a car body shop or during car restoration projects, creating a clean and dust-free environment is crucial to maintain the integrity of the recently applied clear coat.
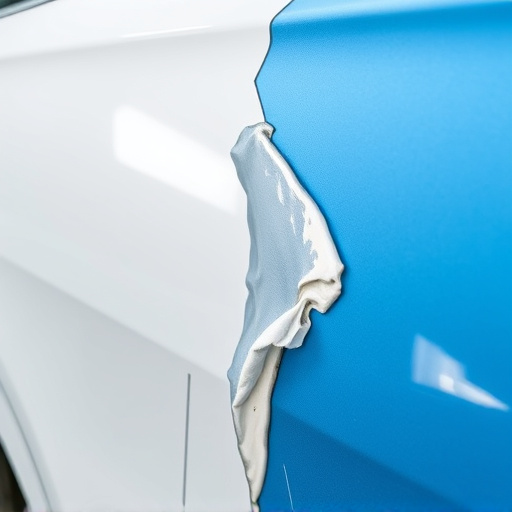
Additionally, inspect the surface carefully for any imperfections, scratches, or uneven areas created during the clear coat application process. Minor adjustments using a frame straightening tool can help ensure the surface is as smooth as possible before sanding. This meticulous preparation stage is vital to creating a strong bond between the clear coat and the underlying surface, resulting in a durable, high-quality finish that showcases the craftsmanship of a professional car body shop.
The Sanding Process: Techniques and Tools

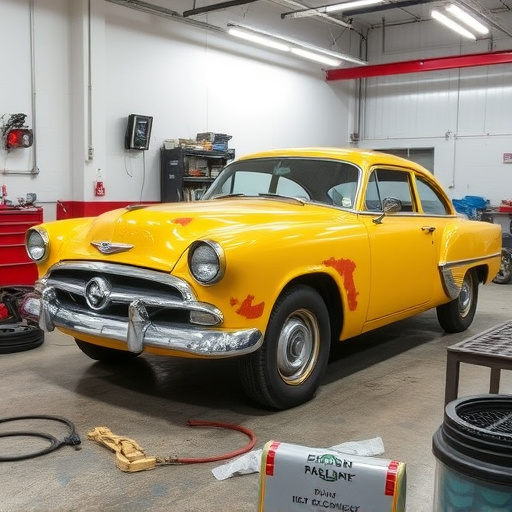
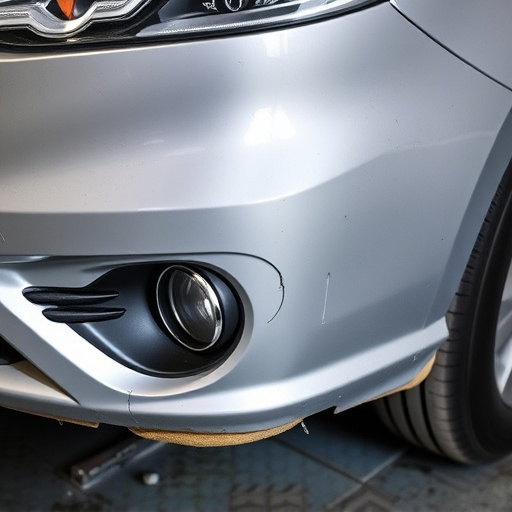
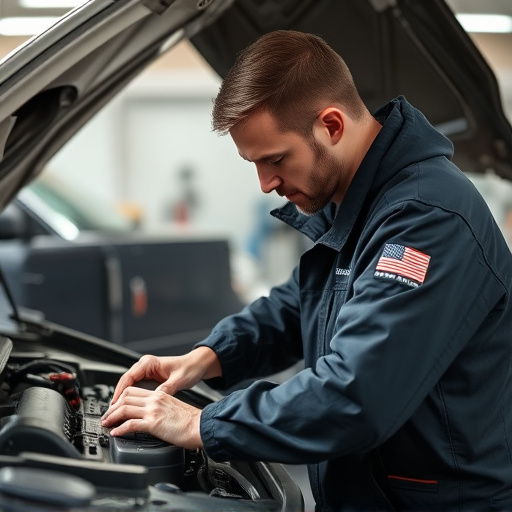
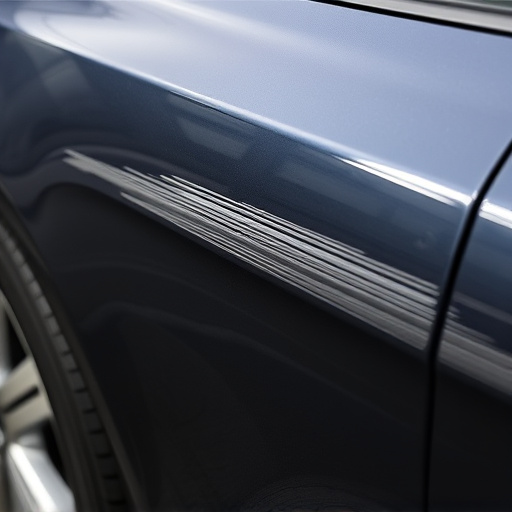
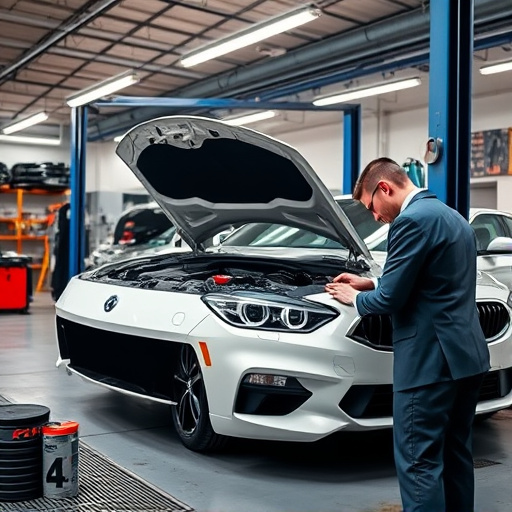
The sanding process after clear coat application is a crucial step in achieving a flawless finish in both automotive repair and body shop services. It involves careful use of various tools and techniques to remove any imperfections, ensuring the surface is smooth and even before polishing. Sanding typically begins with coarse grit sandpaper to address major scratches or irregularities. This initial sanding serves to shape the surface, making it ready for finer grits that will create a smoother texture.
Common tools used include handheld sanders, random orbit sanders, and belt sanders, each offering different levels of control and abrasiveness. The choice of tool depends on the project’s scale and the desired level of finish. For car bodywork services, understanding how to navigate the clear coat sanding process is key to delivering top-quality results that meet customer expectations.
Final Polishing Steps for a Smooth Finish

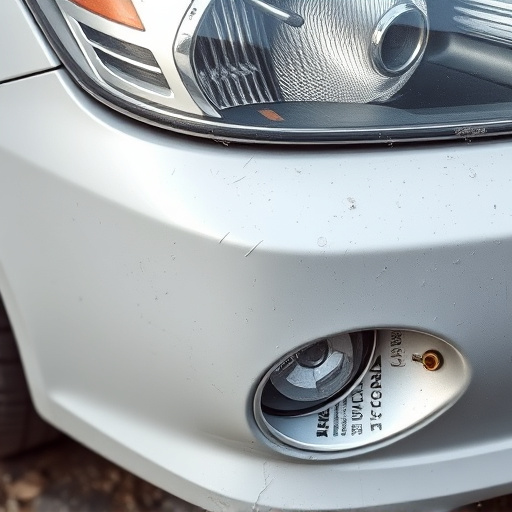
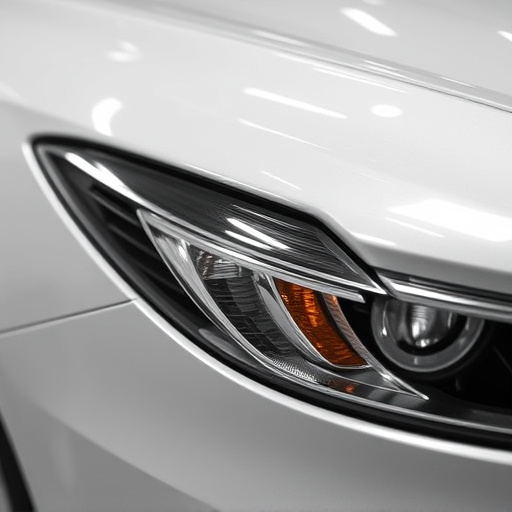
After allowing the clear coat to dry completely, it’s time for the final polishing steps to achieve a smooth and glossy finish. Start by buffing the surface with a microfiber cloth to remove any remaining haze or imperfections. This process gently removes minor scratches while enhancing the clarity of the clear coat.
For optimal results, use a dedicated auto frame repair or car paint services polisher with a suitable polishing compound. Apply the compound evenly across the surface and work in small sections, following the manufacturer’s instructions. Once polished, inspect the area under good lighting to ensure a smooth, consistent finish free from any visible defects. This meticulous final step ensures that your clear coat application not only looks great but also provides long-lasting protection for the underlying paint job, whether it’s from a collision center or a comprehensive auto frame repair.
After carefully applying your clear coat, proper sanding and polishing are crucial steps to achieve a flawless finish. By mastering the techniques outlined in this guide—from preparation to final touches—you’ll be able to enhance the aesthetics of any surface, ensuring a durable and glossy outcome that showcases the beauty of your work, whether it’s a DIY project or professional finishing. Remember, attention to detail during the sanding and polishing process is key to achieving a high-quality, long-lasting clear coat application.