

Before clear coat application, assess and prepare vehicle surfaces by sanding, cleaning, and priming to ensure optimal finish quality. Sanding creates texture for paint grip, while primer acts as a protective barrier and bonding agent, addressing scratches and pockmarks for a smooth, durable finish. Choose the right automotive primer for surface type and conditions to achieve professional-grade clear coat results that last.
Preparing surfaces perfectly is key to achieving a flawless clear coat finish. This guide breaks down the essential steps for preparing any surface before applying clear coat. Start by assessing the condition of your project, inspecting and cleaning thoroughly to remove contaminants. Next, learn how sanding and priming create a roughened layer that enhances adhesion. Finally, discover the importance of applying primer as the foundation for a truly smooth and durable final result.
- Assess Surface Condition: Inspect and Clean Before Coating
- Sanding and Priming: Preparing the Layer for Clear Coat Adhesion
- Applying Primer: The Foundation for a Smooth Finish
Assess Surface Condition: Inspect and Clean Before Coating
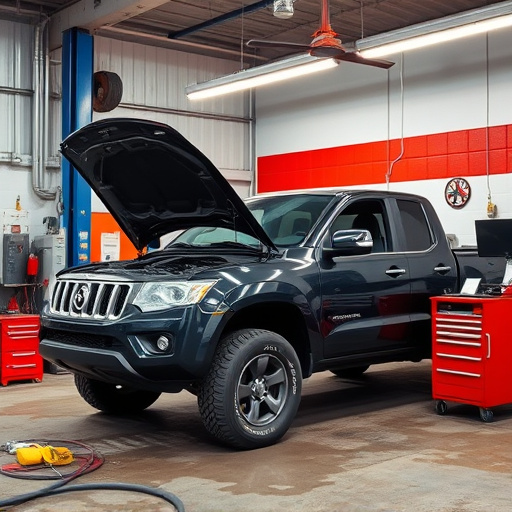
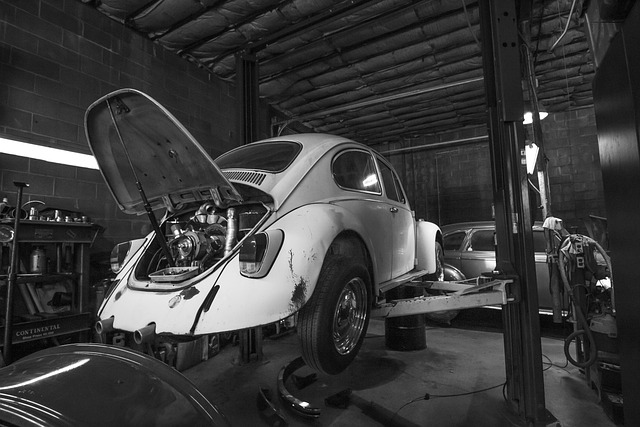
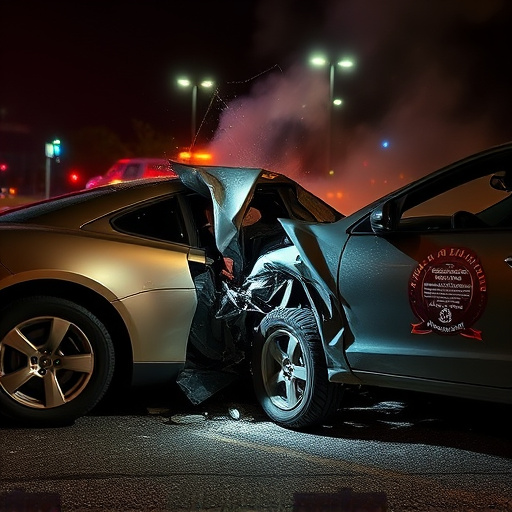
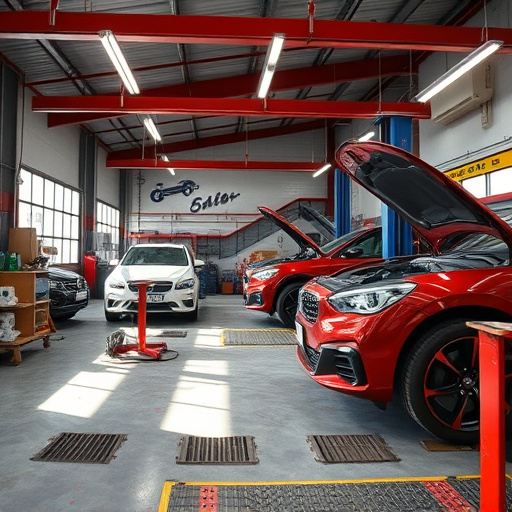
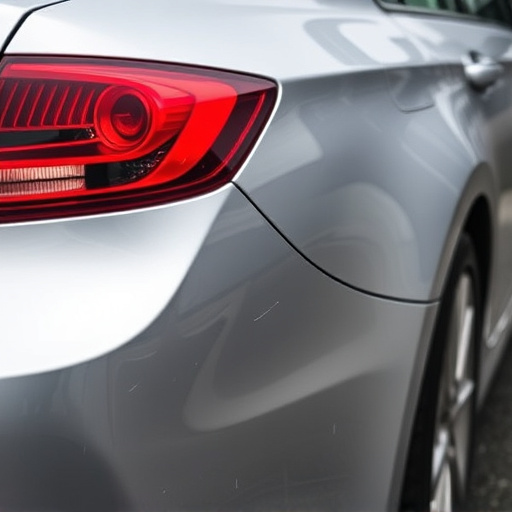
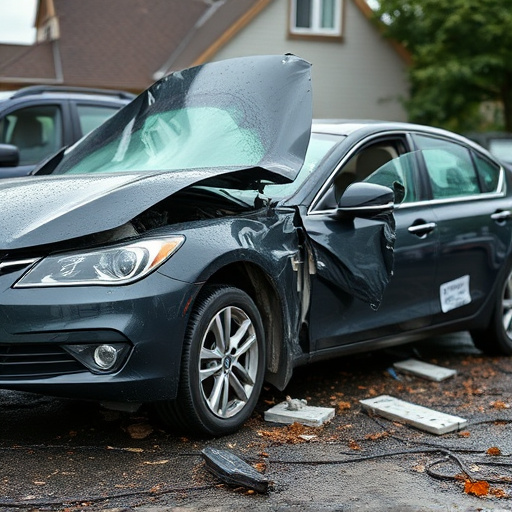
Before applying a clear coat, it’s crucial to assess the surface condition of your vehicle, as this step is essential for achieving a professional finish. Inspect the area thoroughly, looking for any imperfections such as scratches, dents, or rust spots. These issues can affect the adhesion of the clear coat and result in an uneven finish. In terms of car repair services, collision repair specialists often perform this initial assessment to determine the extent of damage before proceeding with any coating process.
Cleaning is a vital part of the preparation process. Ensure that the surface is free from dirt, grease, or any other debris. A proper clean will allow for better adhesion and a more durable finish. In vehicle collision repair, this step might involve using specialized cleaning agents and tools to thoroughly prepare the area, ensuring it’s ready for the clear coat application.
Sanding and Priming: Preparing the Layer for Clear Coat Adhesion
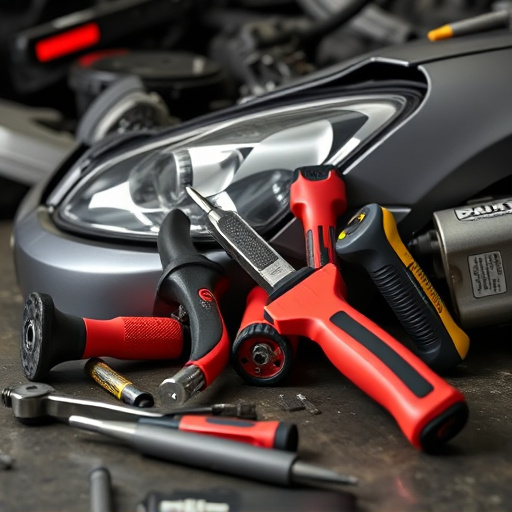
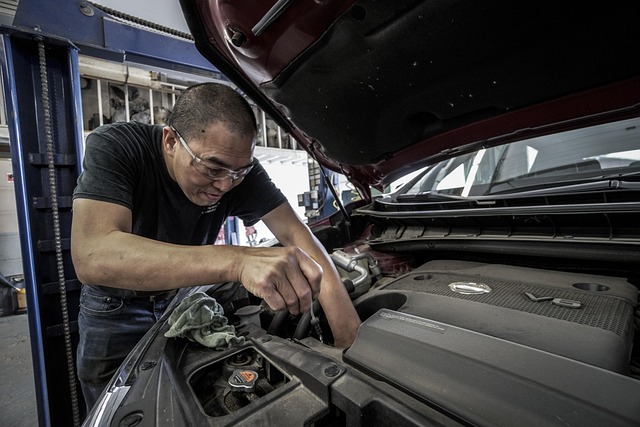
Sanding and priming are crucial steps in preparing a surface for clear coat application. This process ensures that the final finish adheres smoothly and lasts longer. Begin by lightly sanding the layer to create a rough texture, which improves paint grip. Use fine-grit sandpaper to avoid leaving visible scratches. After sanding, thoroughly clean the area to remove any dust or debris.
Next, applying a high-quality primer is essential. Primer acts as a bridge between the clear coat and the surface, enhancing adhesion. Choose a primer specifically designed for auto maintenance and vehicle repair services, considering factors like paint compatibility and drying time. This step ensures that your car body shop can achieve a seamless finish, protecting the underlying layer while providing an optimal base for the clear coat application.
Applying Primer: The Foundation for a Smooth Finish
Applying a primer is a crucial step in preparing surfaces for clear coat application. It acts as the foundation, ensuring a smooth and even finish on your project, whether it’s a vehicle repair service after a fender bender or dent repair. Primer creates a bond between the paint and the surface, filling in any imperfections like scratches or pockmarks that could interfere with the final look.
Using the right primer is essential for achieving optimal results. Different types of primers are designed to suit various surfaces—metal, wood, or even plastic—and environmental conditions. For example, automotive primers specifically formulated for clear coat applications on vehicles ensure a durable, weather-resistant finish. By carefully selecting and applying the appropriate primer, you lay the groundwork for a professional-grade clear coat job that will stand the test of time.
Preparing surfaces properly is key to achieving a flawless clear coat finish. By assessing surface conditions, thoroughly cleaning and sanding, and applying a suitable primer, you lay the foundation for successful clear coat application. These essential steps ensure optimal adhesion, allowing your clear coat to shine brightly and protect your project for years to come.