
Before clear coat application, evaluate and prepare auto body surfaces by removing dents, scratches, and rust. Clean with solvents, degrease, and polish for even clear coat adhesion and durable finish. Prime to enhance surface-clear coat bond, achieving optimal glossy results in auto collision centers or body shops.
“Transforming a surface with clear coat application demands meticulous preparation. This guide navigates you through the crucial steps to ensure a flawless finish. Begin by evaluating and cleaning the surface for optimal conditions, addressing any imperfections or contaminants. Then, prepare for adhesion by using suitable techniques specific to your material. Finally, learn when and how to apply primer, sealing the deal before the clear coat, ensuring a durable, glossy result.”
- Evaluate Surface Condition and Cleanliness
- Prepare Surface for Optimal Adhesion
- Apply Primer: Final Steps Before Clear Coat
Evaluate Surface Condition and Cleanliness
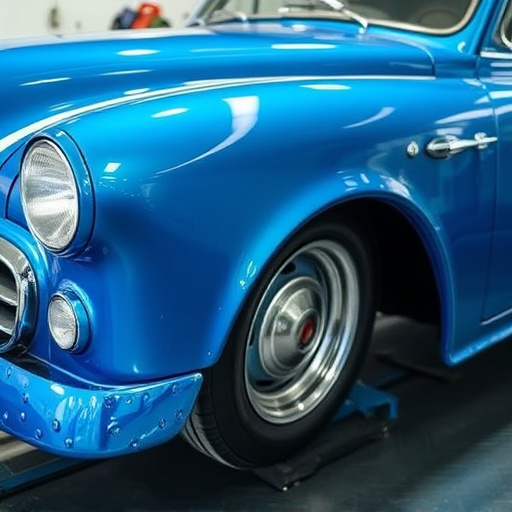
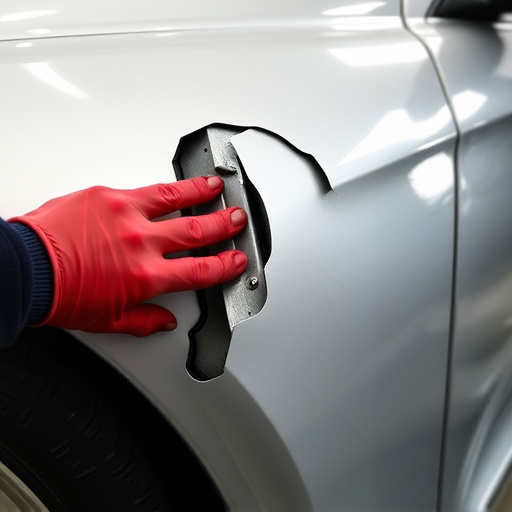
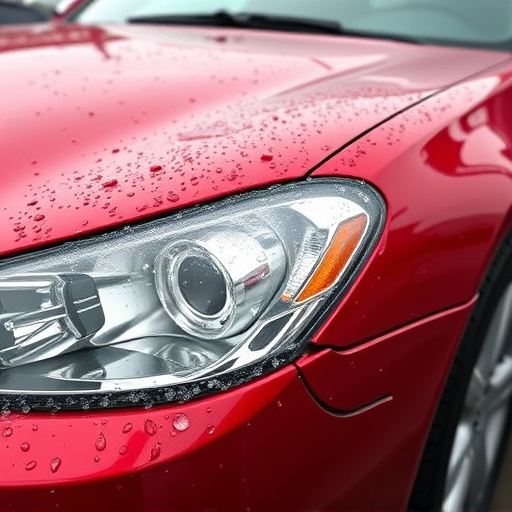
Before applying a clear coat, it’s crucial to evaluate the surface condition and cleanliness of the auto body. This initial step is vital for ensuring optimal adhesion and a seamless finish. Inspect the area thoroughly for any imperfections like dents, scratches, or rust spots. These defects can impair the clear coat’s ability to bond correctly with the underlying surface.
Proper cleaning is an integral part of the preparation process. Remove all dust, grease, and grime using suitable solvents and polishing compounds. A clean and smooth base ensures that the clear coat adheres evenly and provides a durable finish. This step often involves hand washing, degreasing, and polishing to achieve the desired level of cleanliness in the auto collision center or car body shop environment.
Prepare Surface for Optimal Adhesion
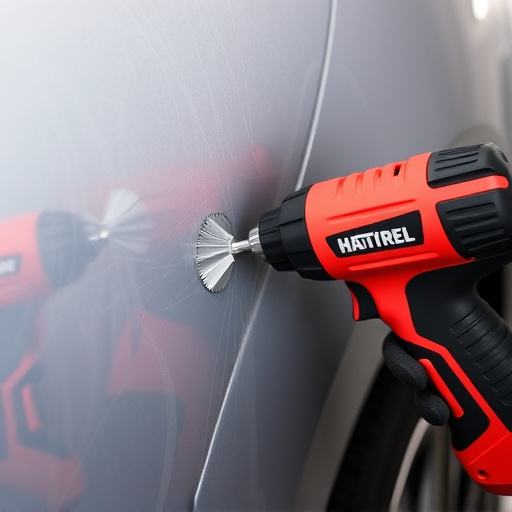
Before applying a clear coat, preparing the surface is crucial for optimal adhesion. Start by thoroughly cleaning the area to be coated, removing any dirt, grease, or debris that could hinder the bond between the clear coat and the base material. Use a mild detergent and warm water, then rinse well and dry completely to ensure no moisture remains.
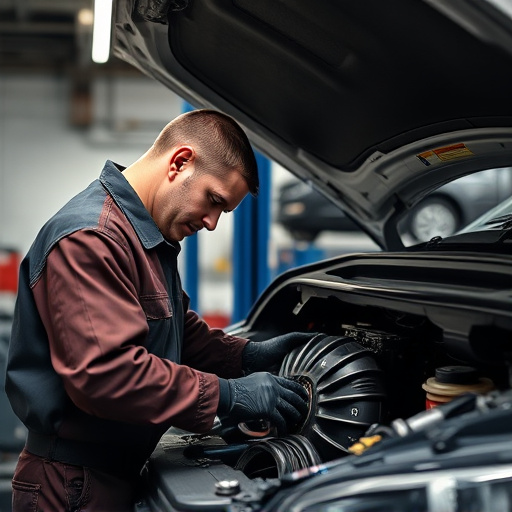
For damaged surfaces, such as those with hail damage repair or car damage repair in a collision repair center, it’s essential to patch and prime any gaps or imperfections. Fill in cracks and holes using an appropriate body filler, then sand smooth once dry. Apply a coat of primer designed for clear coat application to create a smooth base and enhance adhesion.
Apply Primer: Final Steps Before Clear Coat
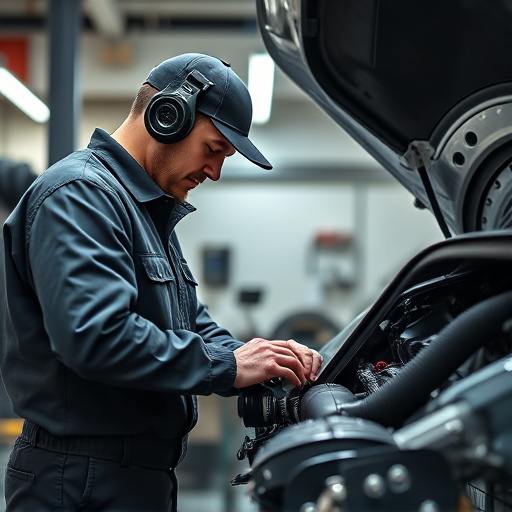
After sanding and cleaning the surface to ensure it’s free from debris, the next crucial step in preparing for clear coat application is priming. Applying a high-quality primer creates a seamless base for your clear coat, ensuring superior adhesion and long-lasting protection. This vital layer acts as a bridge between the vehicle body repair or auto body repair process and the final clear coat, enhancing the overall durability of the finish.
Choose a primer suited to your project’s needs—whether it’s an auto repair near me or a detailed vehicle body repair—and apply it evenly using the recommended techniques. Primers can be sprayed on for a quick and efficient application, ensuring every nook and cranny is covered. This meticulous process forms the foundation for achieving that glossy, pristine finish you desire in your clear coat application.
Preparing surfaces properly is key to achieving a flawless finish with clear coat application. By evaluating surface condition, ensuring cleanliness, and priming appropriately, you lay the groundwork for a durable, glossy finish that enhances any project. Remember, these steps are essential for professional results, so take your time and pay attention to detail.