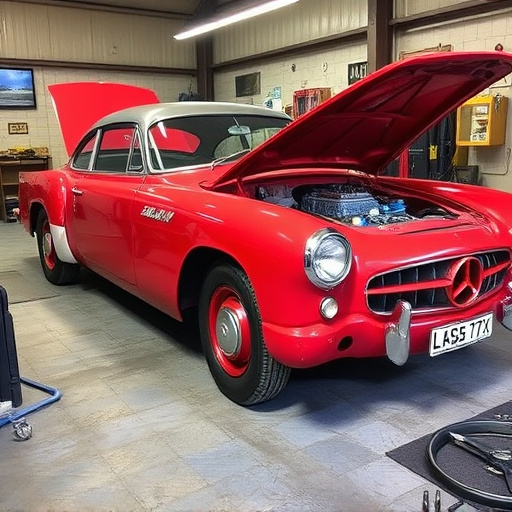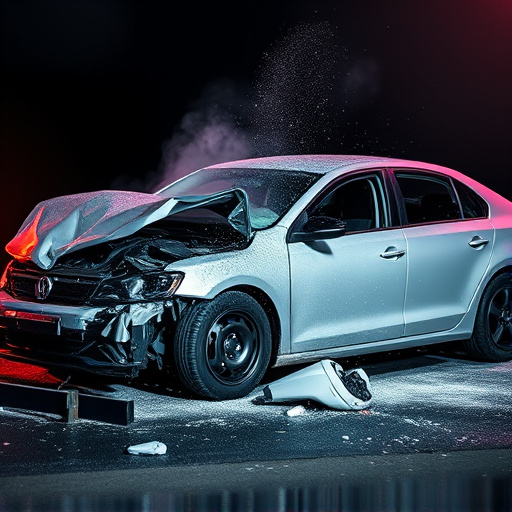

Before clear coat application, thoroughly assess and prepare vehicle surfaces. Address damage like scratches and rust, then clean with suitable solvents and abrasives. Sand coarse, then finer grits for a smooth finish. Prime to fill imperfections, enhancing adhesion and protection for a durable, glossy clear coat.
Preparing surfaces properly is key to achieving a flawless clear coat finish. Before applying that glossy, protective layer, you must assess and prepare the surface meticulously. Start by evaluating its condition and cleanliness—remove any dirt, grease, or debris. Next, lightly sand the area to create a rough texture, enhancing adhesion. Finally, don’t skip the primer; it seals the surface, ensuring a smooth, long-lasting clear coat application.
- Assess Surface Condition and Cleanliness
- Sand and Prepare for Adhesion
- Apply Primer Before Clear Coat
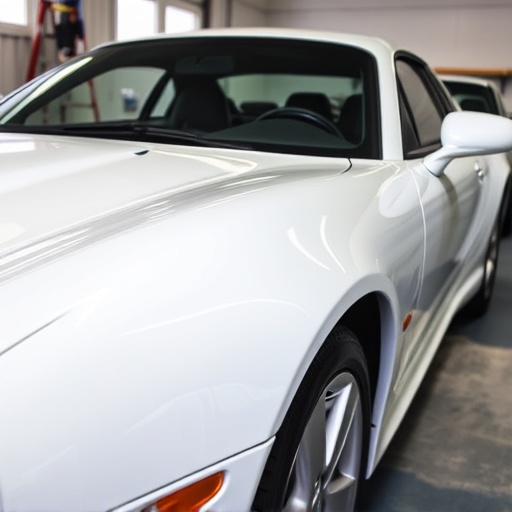
Assess Surface Condition and Cleanliness
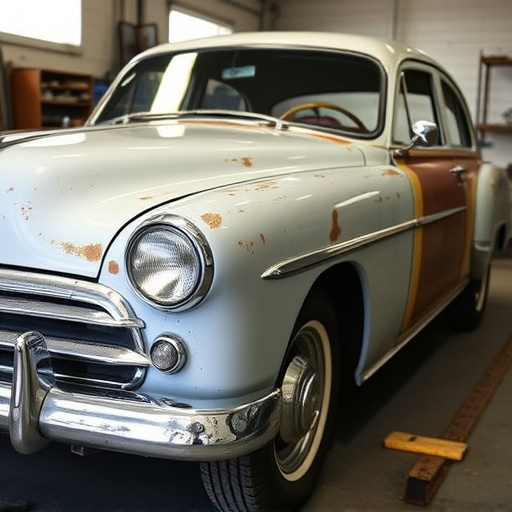
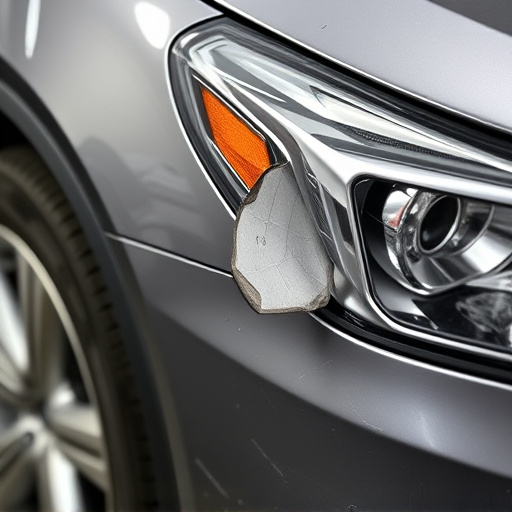
Before initiating clear coat application, it’s paramount to meticulously assess and prepare the surface. The condition and cleanliness of the panel play a pivotal role in achieving a flawless finish. Start by examining the area closely for any signs of damage, such as scratches, dents, or rust spots. These imperfections can impact the final appearance, so take the time to address them appropriately before proceeding.
Proper cleaning is an essential step that often gets overlooked. Ensure the surface is free from grease, grime, and any residue using appropriate solvents and abrasives. This process ensures better adhesion of the clear coat, resulting in a more durable and aesthetically pleasing luxury vehicle repair or autobody repair outcome.
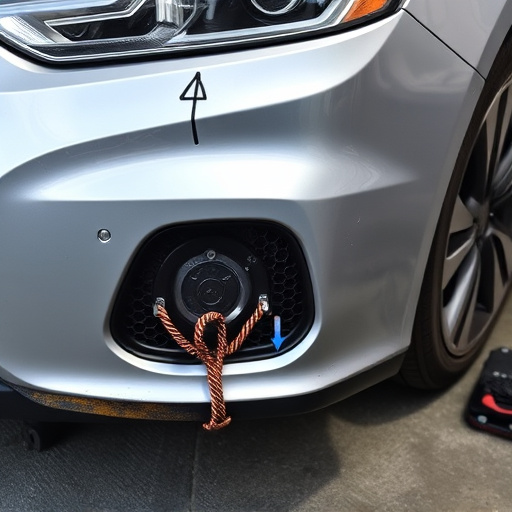
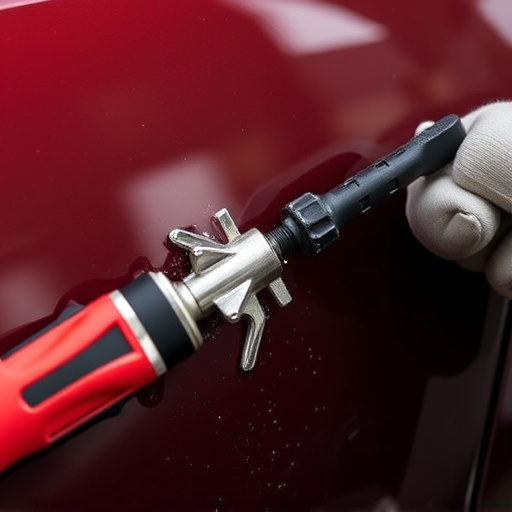
Sand and Prepare for Adhesion
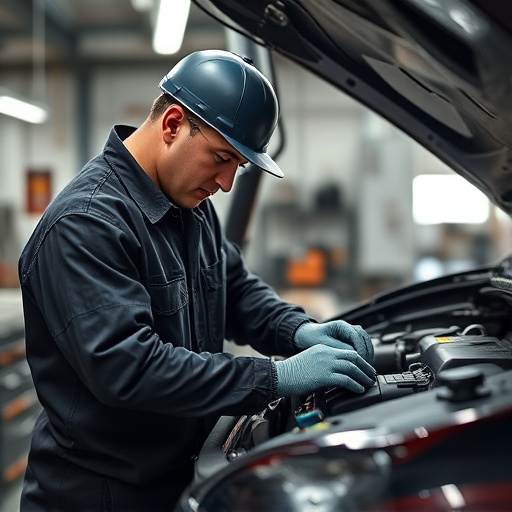
Before applying a clear coat, proper surface preparation is key to achieving a durable and glossy finish. Sanding is the first step in this process, as it helps to roughen the surface, allowing for better adhesion. Start with coarse sandpaper to remove any major imperfections, such as deep scratches or dents (like those often seen in bumper repair), then move to finer grits to smooth out the area. This ensures a clean canvas for your clear coat, enabling it to bond effectively with the vehicle’s body panel.
In a vehicle body shop, this step is crucial to prevent bubbles, runs, and other defects in the final finish. After sanding, wipe down the surface thoroughly to remove any dust or debris. Priming is often recommended after this stage as well, as it further enhances adhesion and provides an additional layer of protection, particularly for car dent removal cases where the panel may have been damaged.
Apply Primer Before Clear Coat
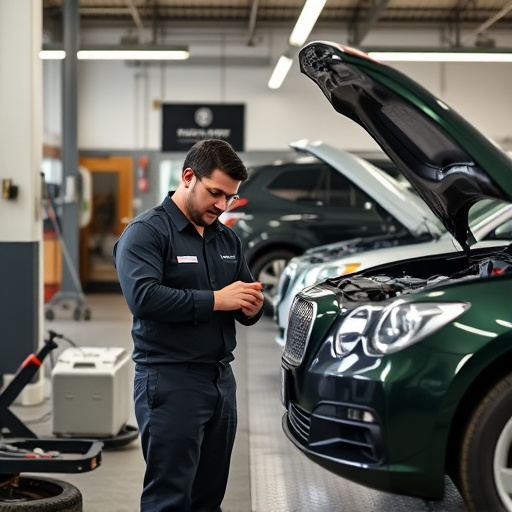
Before applying a clear coat, preparing the surface properly is essential for achieving a smooth, durable finish. One crucial step in this process is priming the surface. Primer acts as a bonding agent, creating a seamless base for the clear coat to adhere to. It fills in any imperfections, pinholes, or rough spots, ensuring an even application.
Using a high-quality primer specific to clear coat application is recommended, especially after collision repair services or vehicle dent repair. This step is vital as it provides a fresh start, allowing the clear coat to bond strongly and provide optimal protection for your car’s finish. Proper preparation ensures that the final result is a sleek, glossy, and long-lasting clear coat finish.
Preparing surfaces properly is key to achieving a flawless finish with clear coat application. By assessing surface condition, cleaning thoroughly, sanding for adhesion, and priming before coating, you lay the perfect foundation for a durable, high-gloss finish. These steps ensure your project looks as good as new, enhancing its beauty and longevity.